Creating eye-catching, high-quality sermon clips doesn’t have to be complicated – and with Sermon Shots, it won’t be. With the help of Sermon Shots, you’ll be able to turn a single sermon into multiple polished church social media videos in a matter of minutes.
As pastor and author Ed Stetzer puts it when talking about Sermon Shots: “The AI really speeds things up. It allows me to multiply the impact of my message quickly.”:
Sermon Shots makes church content creation simple. Here’s how to create sermon clips for social media:
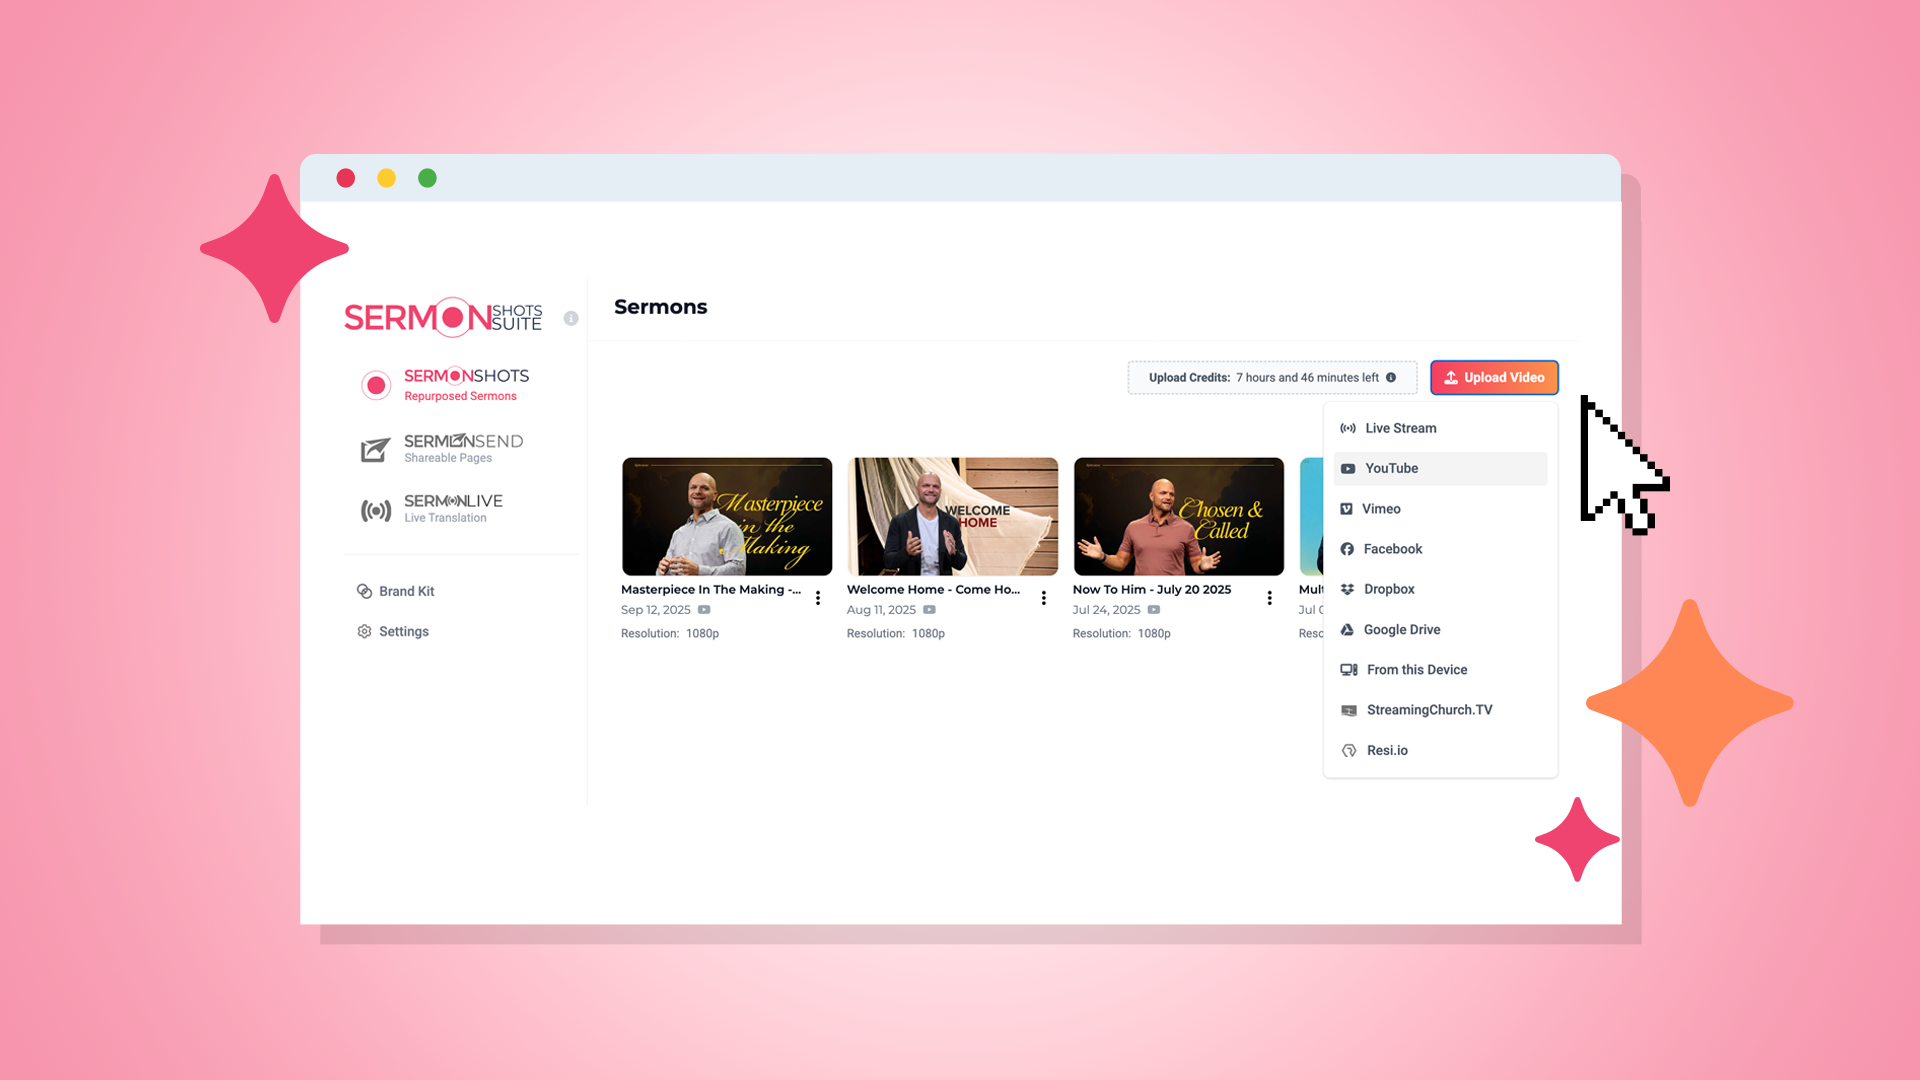
1. Upload your sermon video.
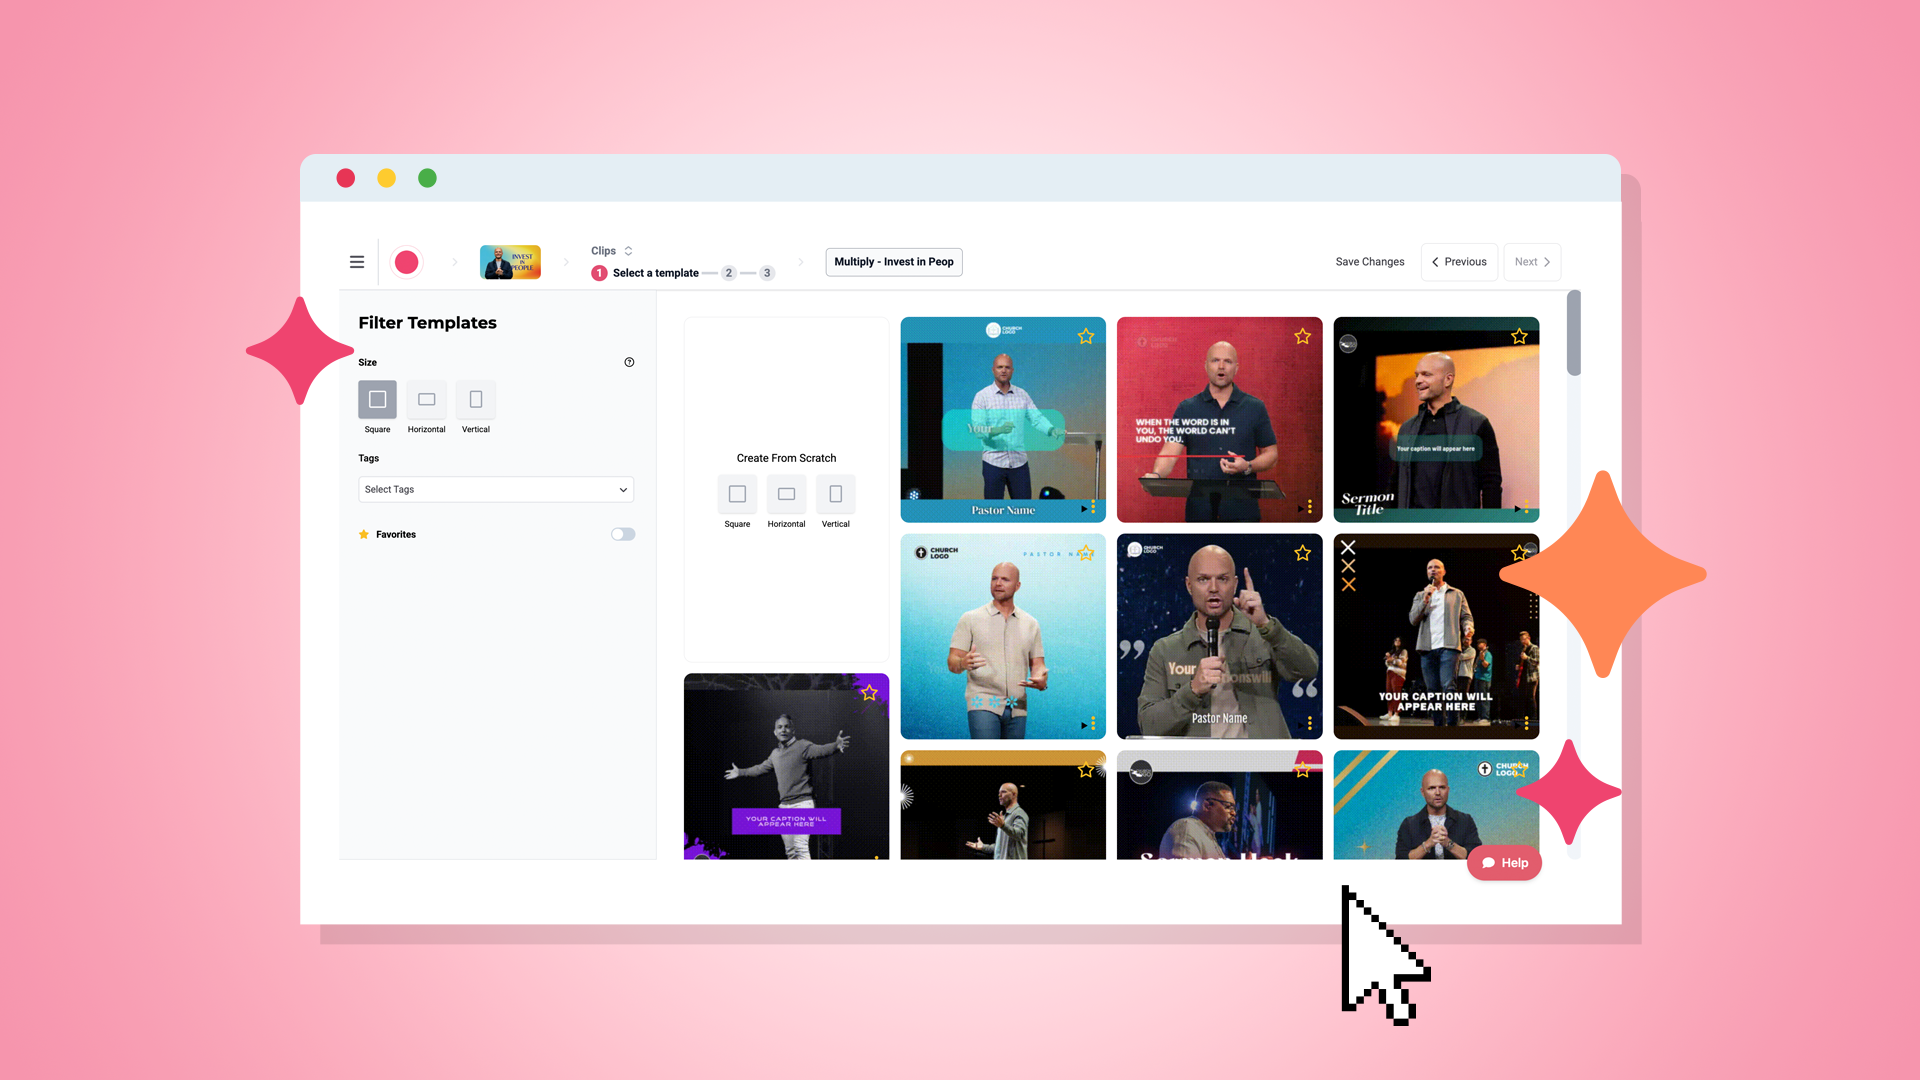
2. Choose a Template that would best suit your clip.
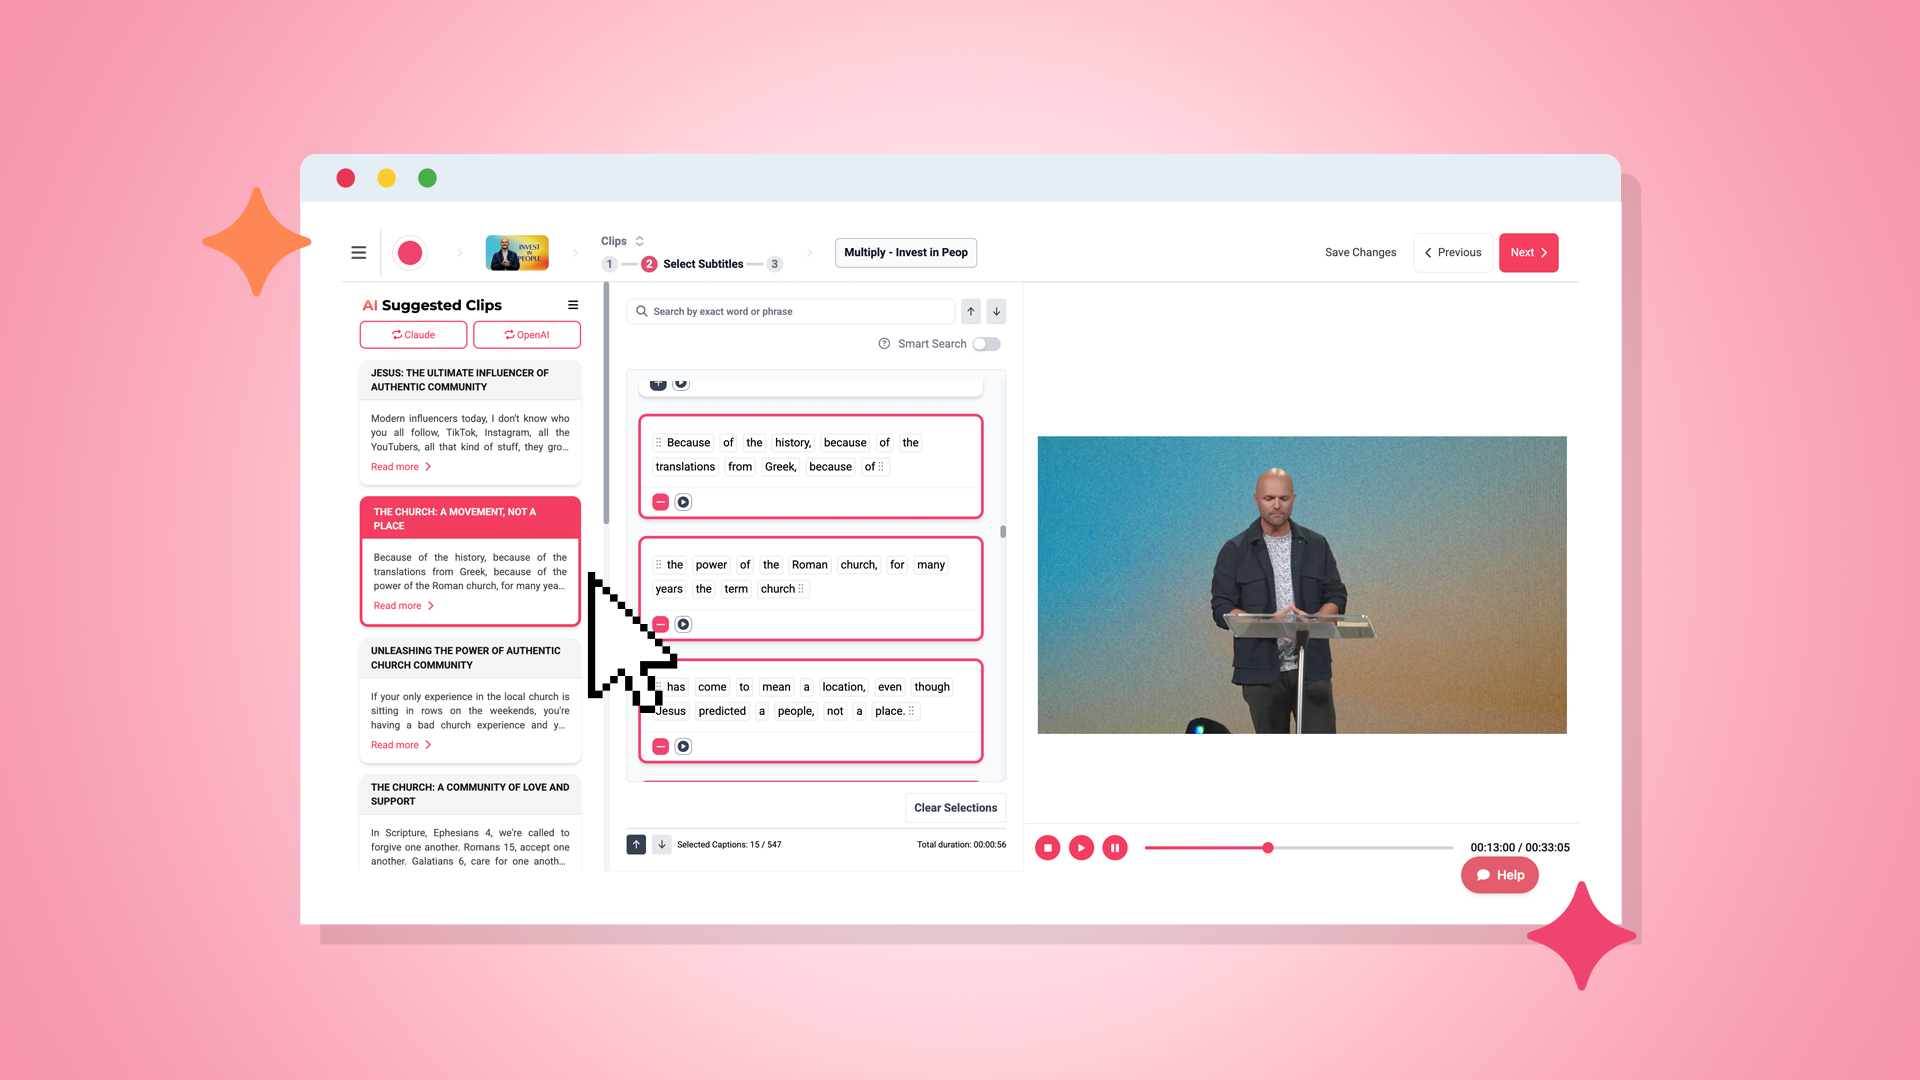
3. Select the sermon clip you want to use and pick the moments you want to highlight in your video (or let the AI suggest them).
4. Edit & Customize by adding captions and customizing your branding.
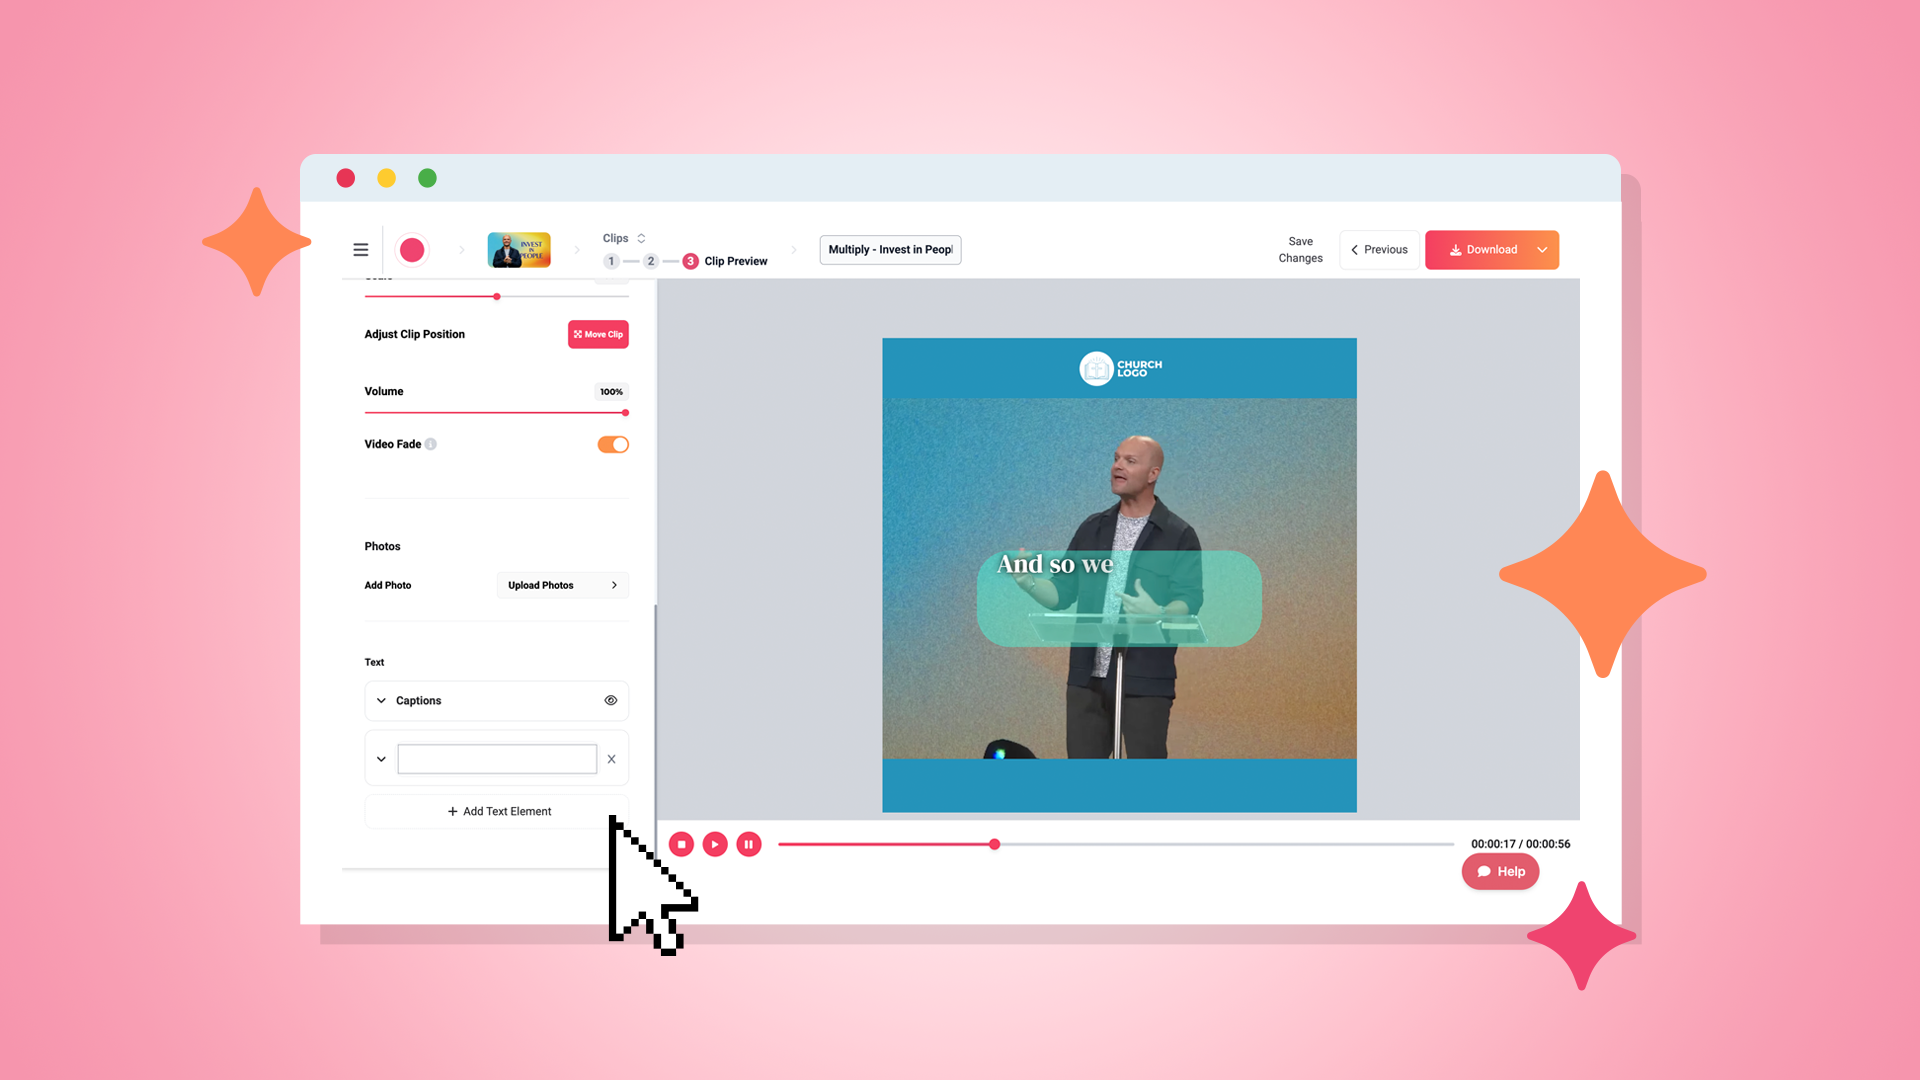
5. View Your Video & Download your clip. You can download it or export it to Sermon Send. 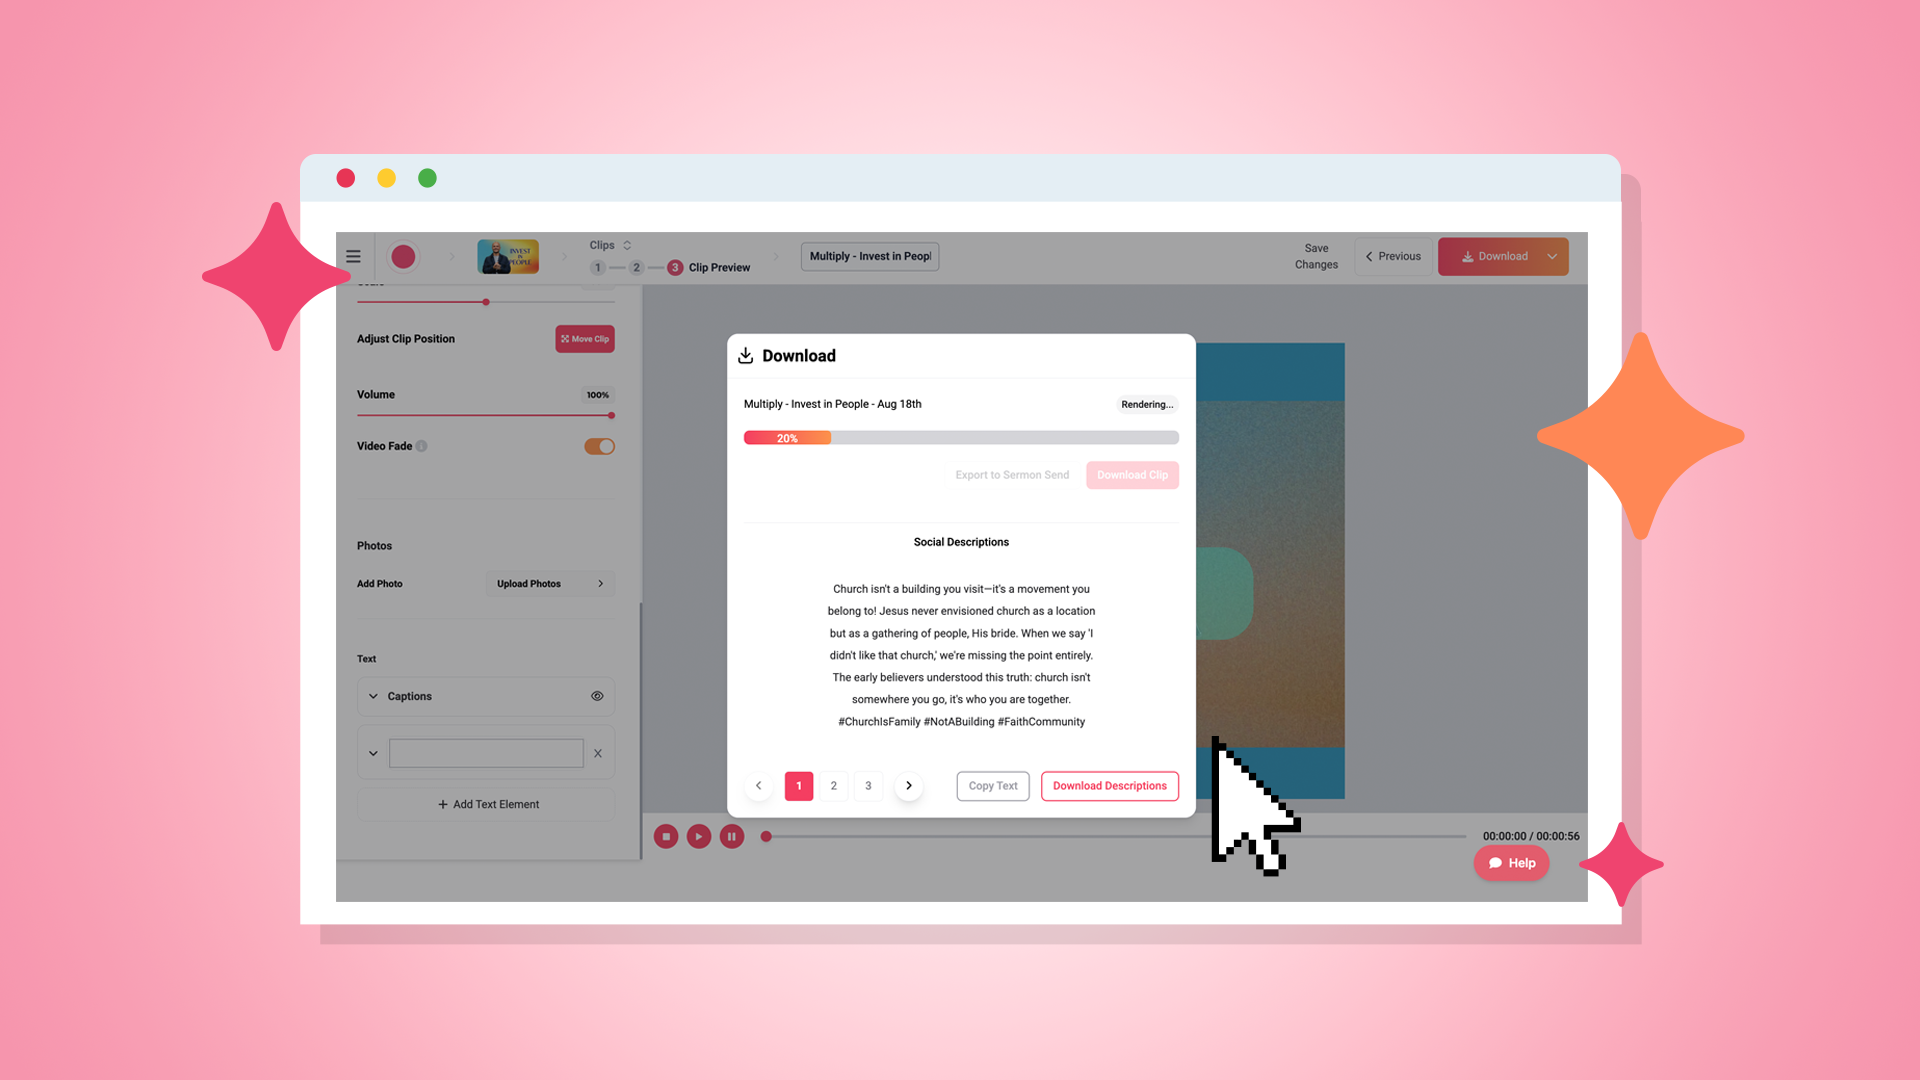
One of the most attractive aspects of Sermon Shots? You’ll create dozens of professional clips in a fraction of the time it would take to edit manually. This can be done without hassle, without needing expensive equipment, or without hiring a professional video editor.
The power of Sermon Shots doesn’t stop with creating and editing sermon clips. With all of the consistent updates that have been made over the last couple of years, you can take it a step further by taking your sermon and transforming it into:
Since viewers’ attention spans have diminished over the years, short sermon clips could be the key to making sure that your message is not only heard but remembered and shared.
It’s important to keep in mind that your sermon isn’t just a Sunday event; it’s a message with the power to motivate and encourage your viewers all week long. By using Sermon Shots to create sermon clips for social media, you can expand your reach, connect with more people, and keep your message alive long after Sunday.
Q: How long should a sermon clip be?
A: Typically, they should be about 30 to 60 seconds for platforms like Instagram, TikTok, and Facebook Reels. However, you can create slightly longer clips (1–3 minutes) for YouTube or Facebook posts.
Q: How can I create sermon clips without a big media team to do it for me?
A: Tools like Sermon Shots make it simple for you to edit and create your sermon clip yourself. The process is laid out for you in a few quick and easy steps.
Q: How many sermon clips could I make from one sermon?
A: You can typically create 5–10 powerful clips from one sermon. This will provide you with enough content to post several times throughout the week.
Q: What social media platforms work best for sermon clips?
A: The social media platforms that work best for sermon clips include: Instagram Reels, TikTok, Facebook Reels, YouTube Shorts, and even LinkedIn.
Q: Can I make my sermon clips match my church branding?
A: Absolutely! When editing, you’ll have the option to use consistent fonts and colors that go with your brand and add your church logo. Once you’ve added it, this will be an option you can use later on when making more clips.